It’s not rare that someone pulls up to our store in Venice Beach and tries to sell me used furniture. I’ve been pitched on everything from old highchairs to literal kitchen sinks and I can say without hesitation that 95% of everything is unsalvagable trash, but every so often I’m offered a piece with potential beauty hiding just beneath a chipping wood finish. This was one of those times.
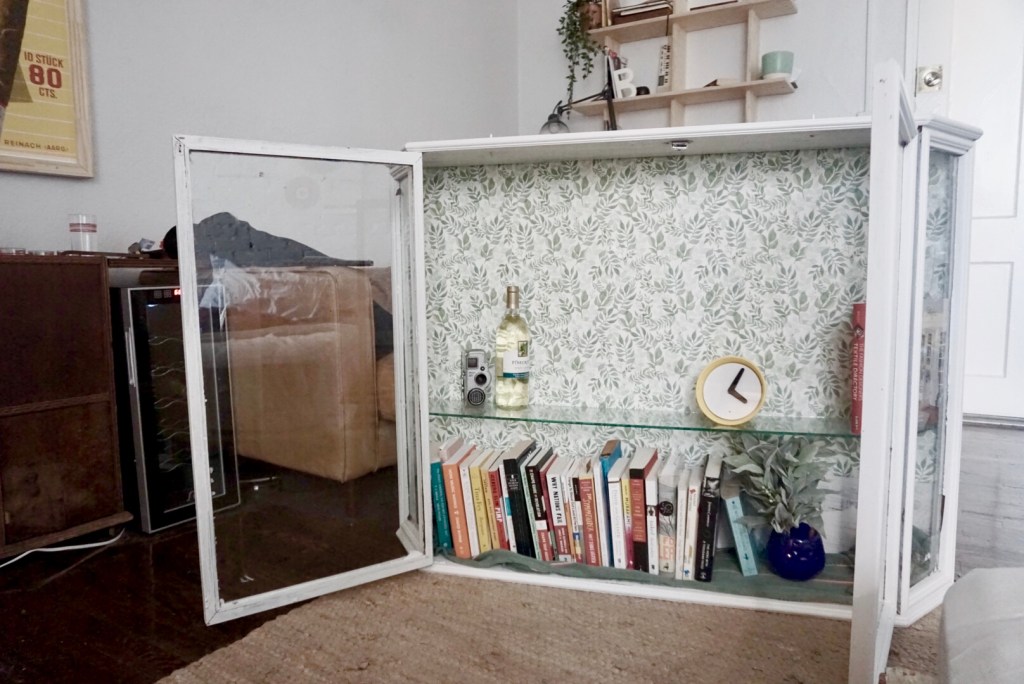
A few weeks ago I was offered what, I guess, is called a showcase. It’s basically a big wooden box with shelves inside and glass doors to put its contents on display. Often times you’ll see them atop a desk or some shelving, but you most likely remember them best as the display cases hanging in the hallway of your old elementary school filled with flyers for upcoming events etc.

Despite the chipped wooden frame and rusted nails, I HAD to have it and once my coworker, Mkyael, offered a stellar design idea I was confident I hadn’t wasted my time, money, or muscle hauling this thing in off the street.
Mkyael suggested I not only paint the entire thing white, but also wallpaper the back to break up the monotony with some sort of pattern that would typically take me hours to paint by hand.
I was bursting with excitement to attack this project, but since I’m a feet-dragging millennial who would have graduated college with a degree in procrastination if I had ever gotten around to it, it took me about three weeks to actually crack open a can of paint for this thing.
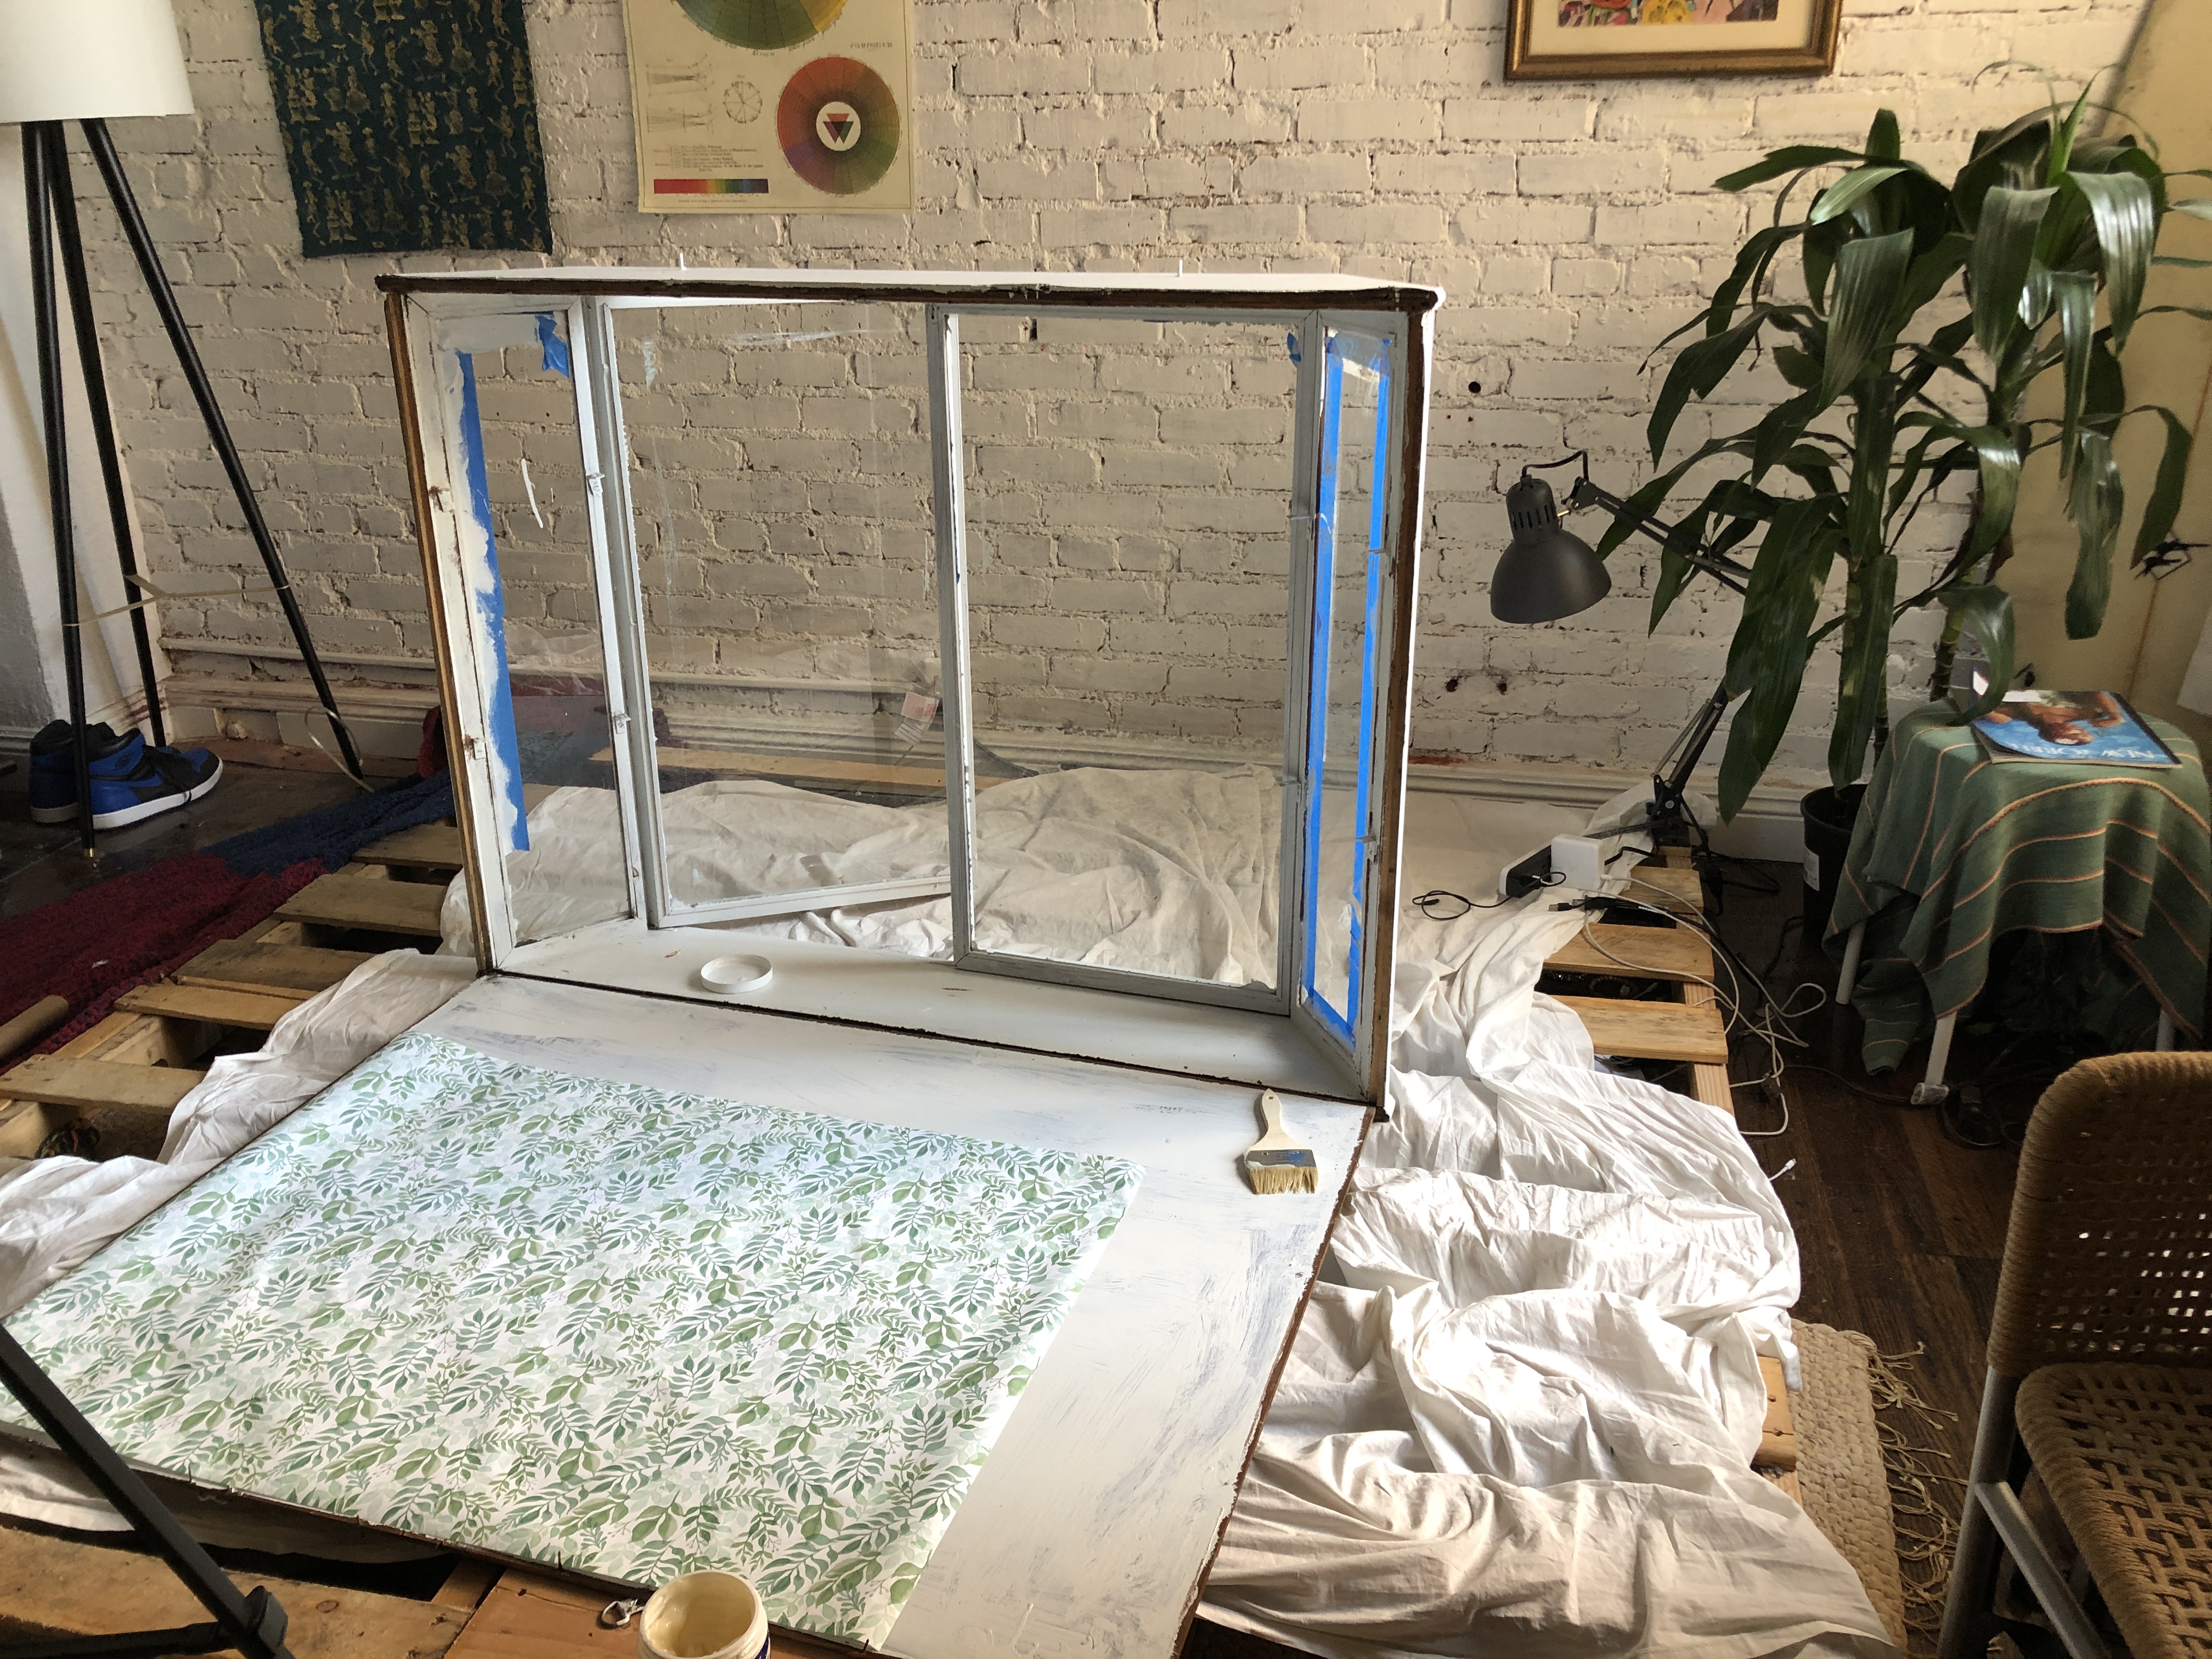
BUT when I finally got around to it, I started by taping off the edges of the glass (as to not accidentally paint the glass) and went to town on this bad boy with standard BEHR interior pure white paint. I painted the back as well, just to cover my ass in case the dark brown of the original wood would show through the thin paper I chose to cover it.

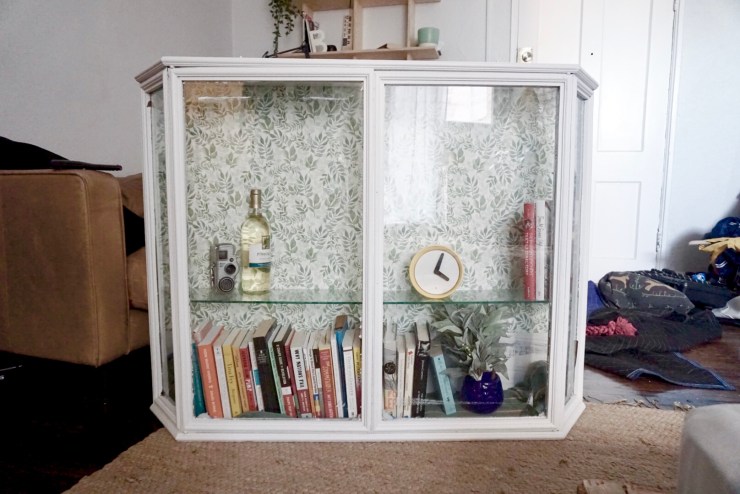
It took two coats to properly cover this thing and once it was dry I hung it up on my wall just to get a better idea as to what it would look like.

The paper I used for the back is actually wrapping paper I purchased from PaperSource for about $6 and I used Yes! Paste as the glue. I pulled the back completely off and laid it down flat to make the entire process simpler, however, that lasted about two minutes until I realized I didn’t buy enough paper to cover the entire piece.
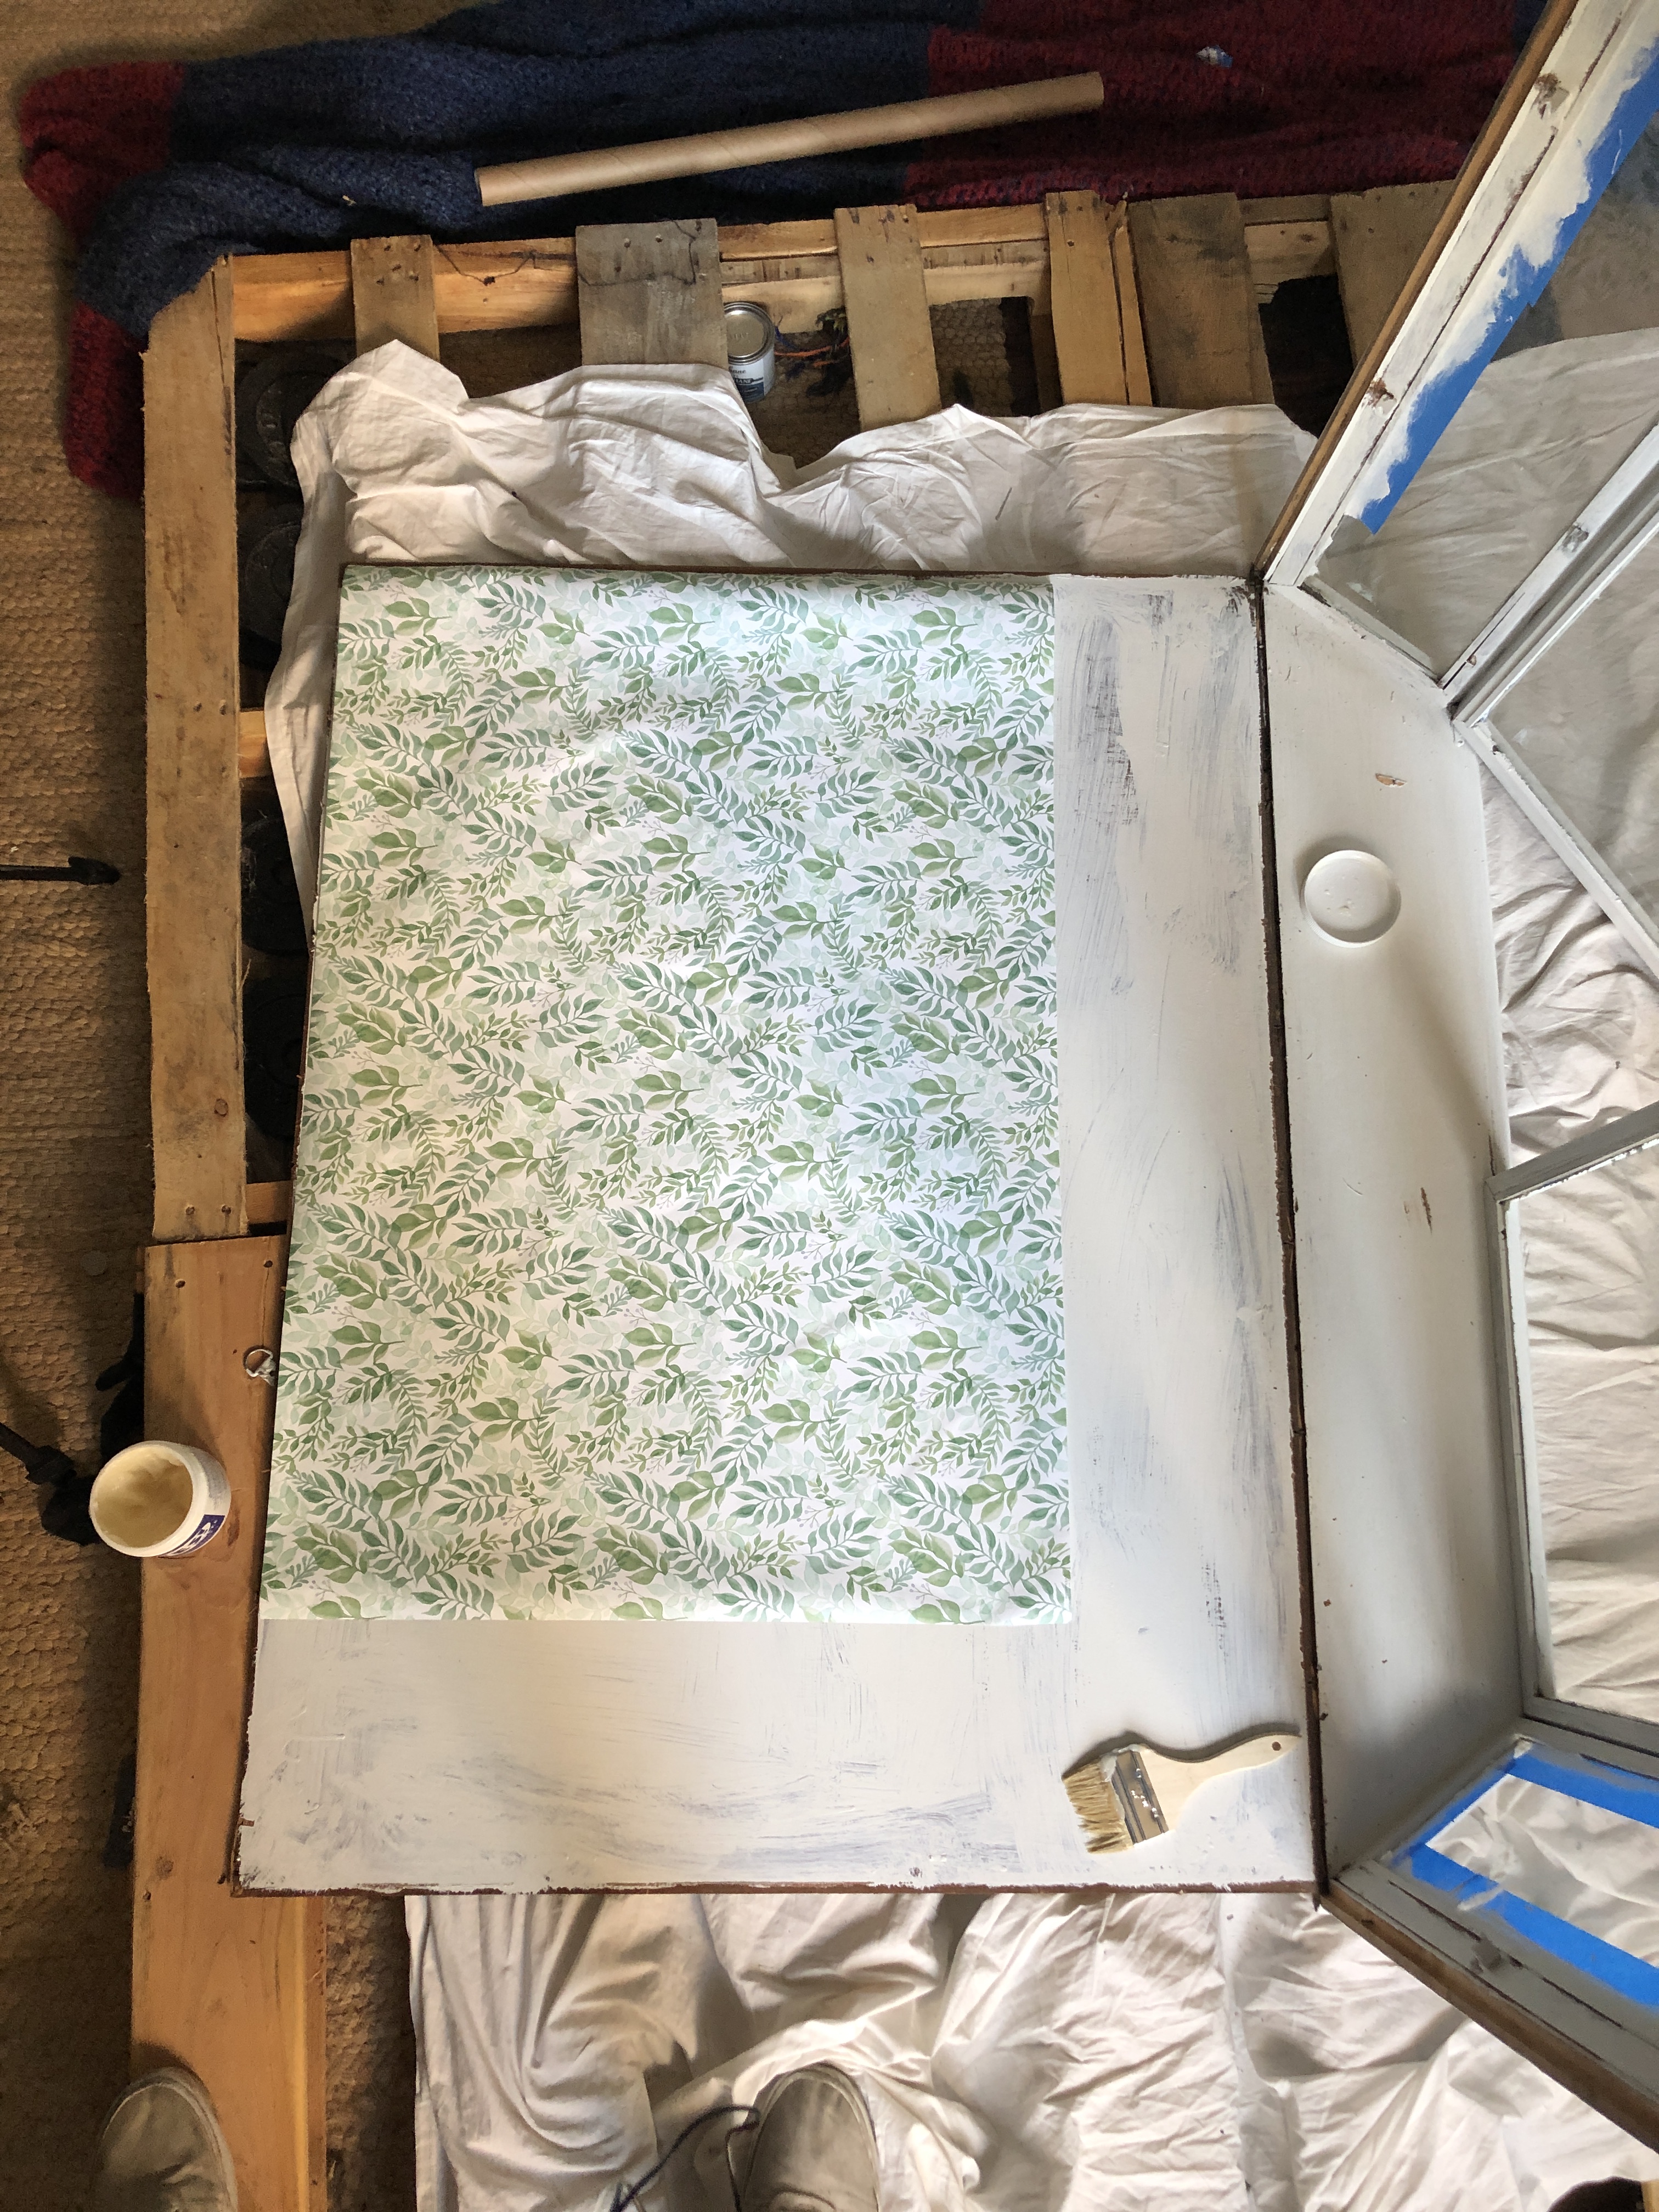
Luckily, I don’t let little things like wallpaper miscalculations stand in my way/I had a really good parking spot and didn’t want to lose it by driving back to PaperSource so I let the glue dry, nailed everything back together and figured I could come up with some way to cover up my mistake.
And guess what?

That’s exactly how that went down. With a little help from the unread books I keep in my apartment to impress guests, I was able to hide any blank spots and chalk this DIY project up as a success.