10 Minute Read –
Anybody can buy a rug…and, well, anybody can stencil a floor too but not everyone has the patience for it.
Things you’ll need for this project –
- Acetate (plastic) .005 thick, size is up to you (smaller requires less cutting but more moving of the plastic during the painting, larger requires the opposite)
- Printer
- X-Acto knife
- Paint brush
- Floor paint (at least two colors)
- Floor sealer (optional but recommended)
We sell rugs. We sell a lot of rugs. Some are jute, some are cotton, some are hemp, some are polyester, but all are lovely. Those not made here in California are shipped in from India, Turkey, and New York mostly. We only sell items we adore ourselves, but this post isn’t about rugs but rather a fun alternative to floor coverings altogether.
Painting floors is something we fully support and realize others are often hesitant to commit to. Unless it’s a deck or patio, the concept of spending money on changing the color of something people will step on daily is like eating a spaghetti dinner in a wedding dress. And they’re not wrong, but there are two tricks to making it work –
- Understand that floors get dirty. It’s an unavoidable fact so don’t stress about it so damn much.
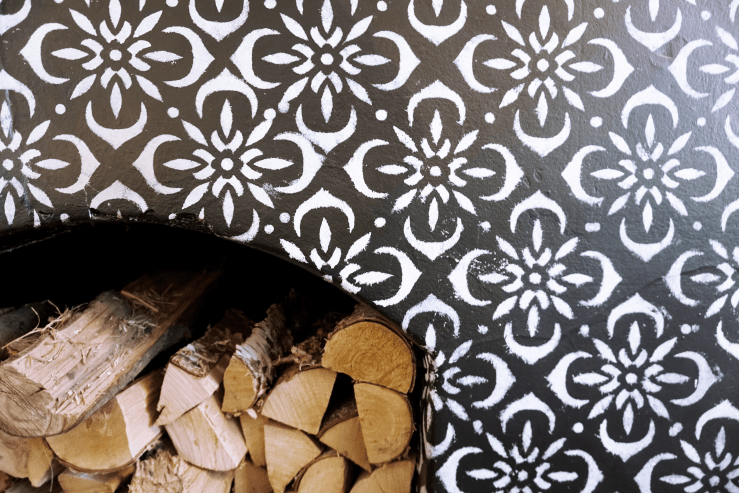
- The same way you might pick out rugs with intricate patterns to hide the dirt the same should apply with the pattern you choose. Cut something that is so unavoidably beautiful the filth of the human foot is lost in its elegance.
(What the hell is he talking about…cut?)
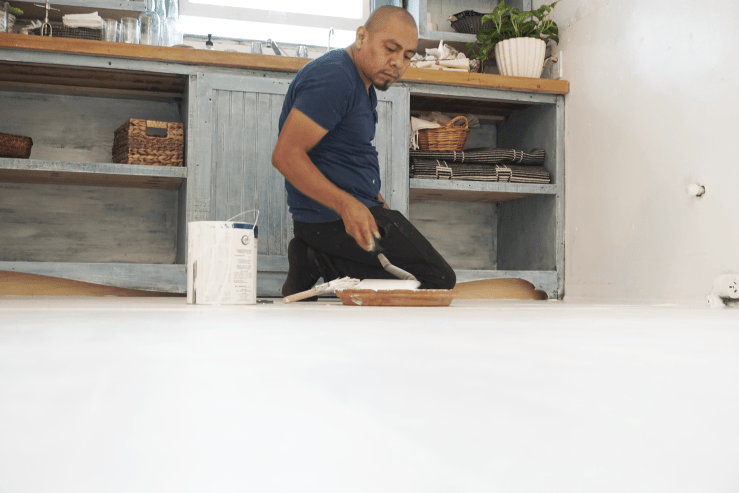
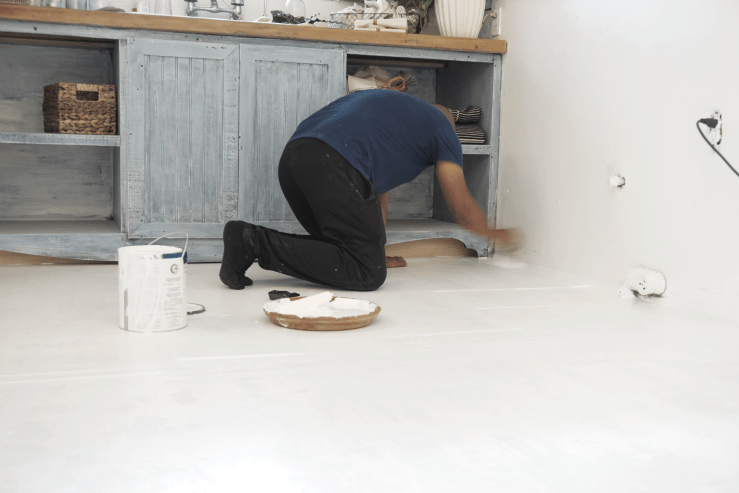
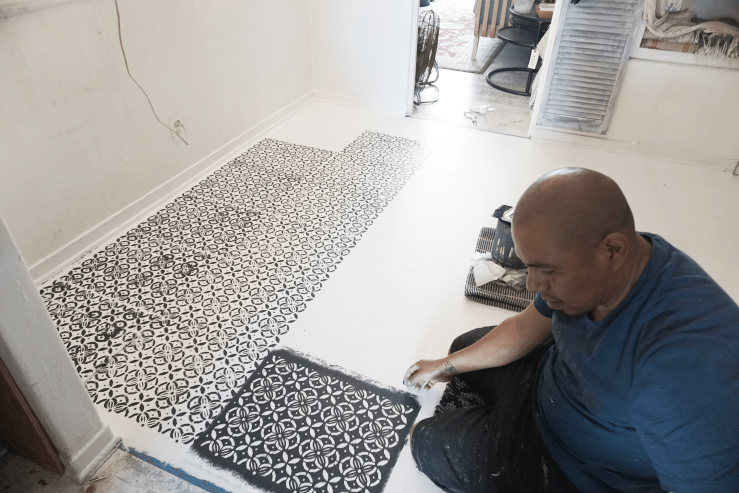
We like to repaint the floors in our store about once a year or so and yesterday, one of our skilled and talented employees, Eloy, dropped to his knees for a few hours to redo our kitchen area thus the inspiration for this post.
The first thing you’re going to do is find the pattern you want. The simplest way is to find something online you like, but if you’re feeling squirrely then, by all means, draw something out. It should be a repeating pattern that you can line up easily on your floor. Print it out on a sheet of paper.
Second, tape your sheet of acetate over the printed out sheet of paper. Make sure it’s stable enough to not budge.
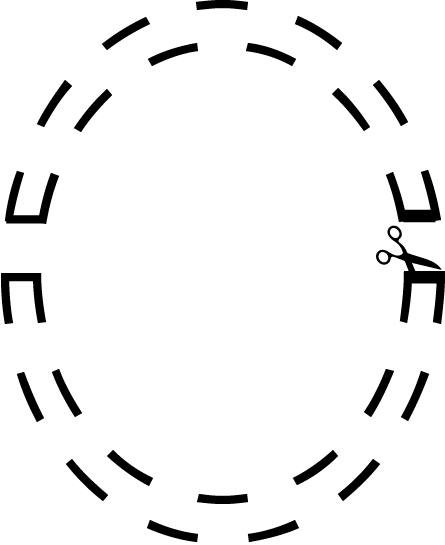
Then place the paper/acetate combo on any surface you’re comfortable cutting on (we use a cutting board) and trace the outline of your pattern through the plastic with the X-Acto knife. The trickiest part with this is avoiding “islands”. For example, if you were cutting out the letter “O” you can’t cut out the outer edge first because you’ll be left with a circle. Instead, cut out the inner edge leaving two small connecting bridges of plastic leading into your outer edge.
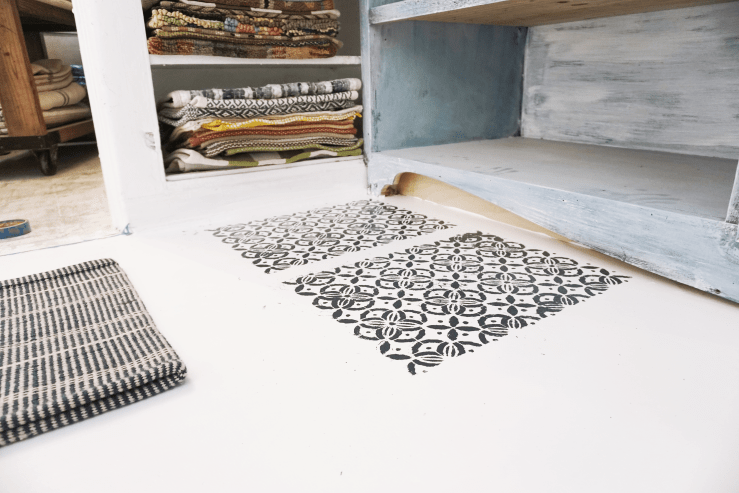
Once your stencil is all cut out, detach it from the piece of paper (throw the paper away it’s useless now) and set it aside. Take whatever color you want to be the base of the floor and start painting. We chose white for this project. It may take two or three coats to completely cover so be prepared.
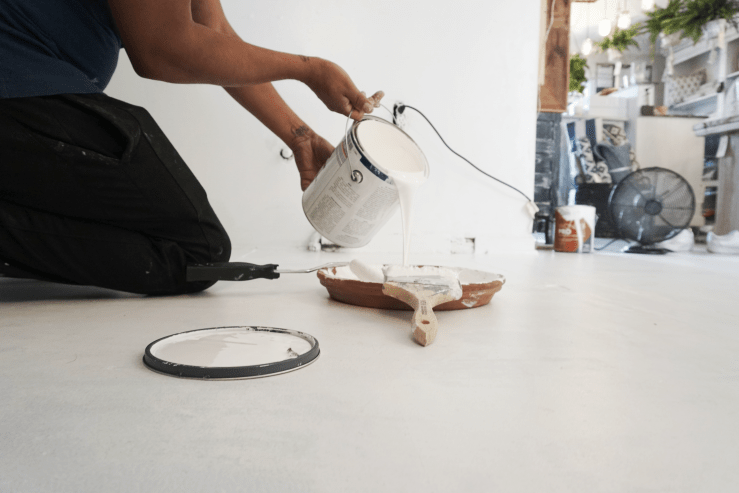
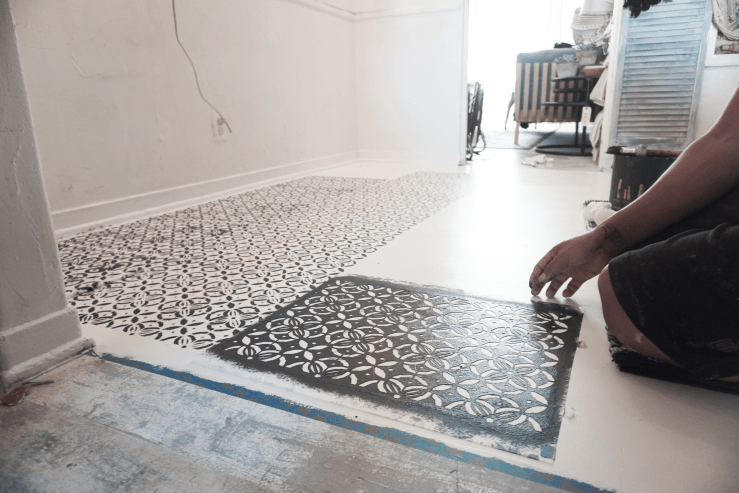
Once your base coat is dry, take your stencil and lay it on the floor. I recommend starting in a corner and using the 90-degree angle of the walls as an easy starting off point to help make sure your stencil is straight. Dunk your brush in your second color and wipe it off a bit. You really don’t want a lot of paint for this, just enough to leave an impression. If you need to go over the stencil again you can.
Hold the stencil steady with one hand and tap the brush down onto the pattern with the other in a fast, stamping motion. The more directly up and down you can make it the better, thus avoiding the bristles from sneaking outside the lines of your design. Once the entire thing is covered, gently lift the stencil up, move it over and repeat.
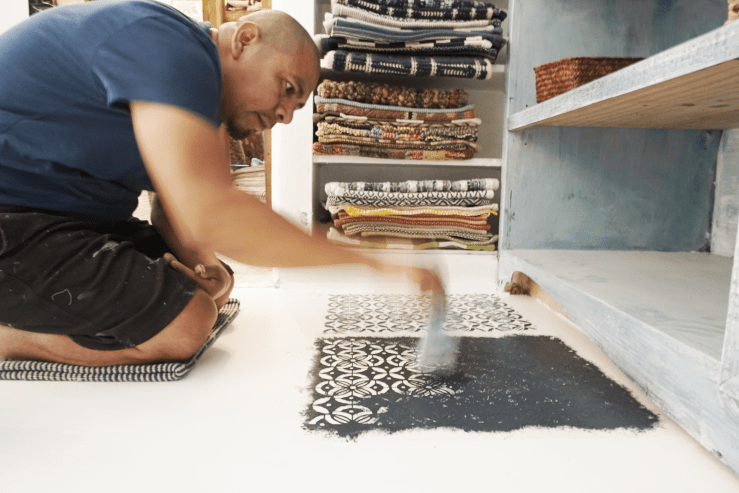
*You can tell he’s going fast because his brush is so damn blurry*
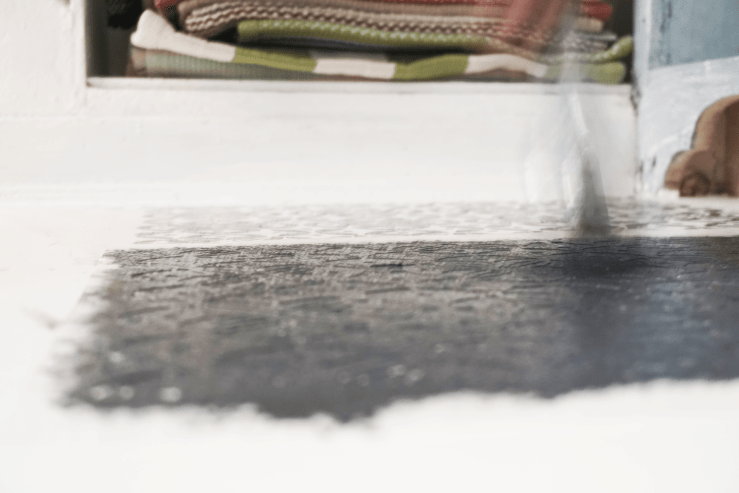
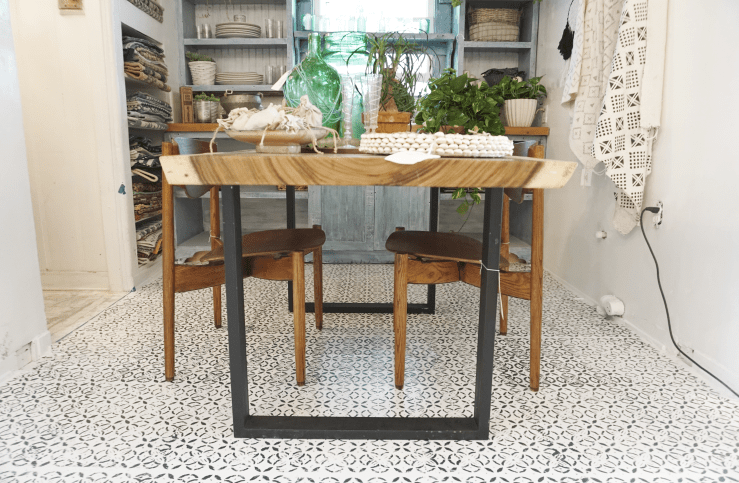
Continue this method for the entire length of your floor. Let the paint dry and spread a coat of sealer across the entire thing for protection if you so choose. Note that lining up a small stencil like this can become difficult and that’s okay. It doesn’t need to be perfect. You can even see in ours the paint bled slightly underneath the stencil and it actually adds an authentic feel to it. Concentrate less on perfection and more on having fun (and that goes for absolutely everything in your life).

By no means should this method be reserved for floors only. We love to do the exact same thing to walls, ceilings, tables, honestly whatever you want. As long as you have the patience to cut a stencil the possibilities are endless.